
Why your renovation needs a real budget (especially when money’s tight)
Renovating on a tight budget is less about “being cheap” and more about managing risk. A renovation is basically a small construction project with three variables: scope, cost, and time. If you don’t control them, they control you – usually via surprise invoices.
When people say *home renovation on a budget*, they often mean “I know my limit, I just hope it will somehow be enough.” That’s not budgeting. Budgeting is deciding in advance:
– What exactly you’re doing
– What you’re not doing (just as important)
– How much each line item costs
– Where you’ll cut if prices jump
Once you treat this as a project with constraints instead of a vague wish list, you can get a lot more done with the same amount of money.
—
Start with the ceiling number, not the dream list
Most people start with “I want a new kitchen, bathroom, floors.” Then they ask contractors what it would cost. That’s how a $10,000 plan becomes a $38,000 quote.
Flip the order:
1. Define your absolute maximum spend (including a small reserve).
2. Carve out a contingency (10–15% even on a tight budget).
3. Only then design what you can do with what’s left.
For example, say you have $15,000 total.
– Reserve 10% for contingency: $1,500
– Available for actual work: $13,500
That number – not the $15,000 – is your working budget. Everything must fit inside it.
—
Separate “must-fix” from “nice-to-have” with brutal honesty
When money is limited, priority setting is a technical exercise, not an emotional one. You sort items into three buckets:
– Safety & structure: leaks, electrical hazards, rotten subfloor
– Functional upgrades: broken cabinets, no storage, bad layout
– Cosmetic: colors, finishes, decor
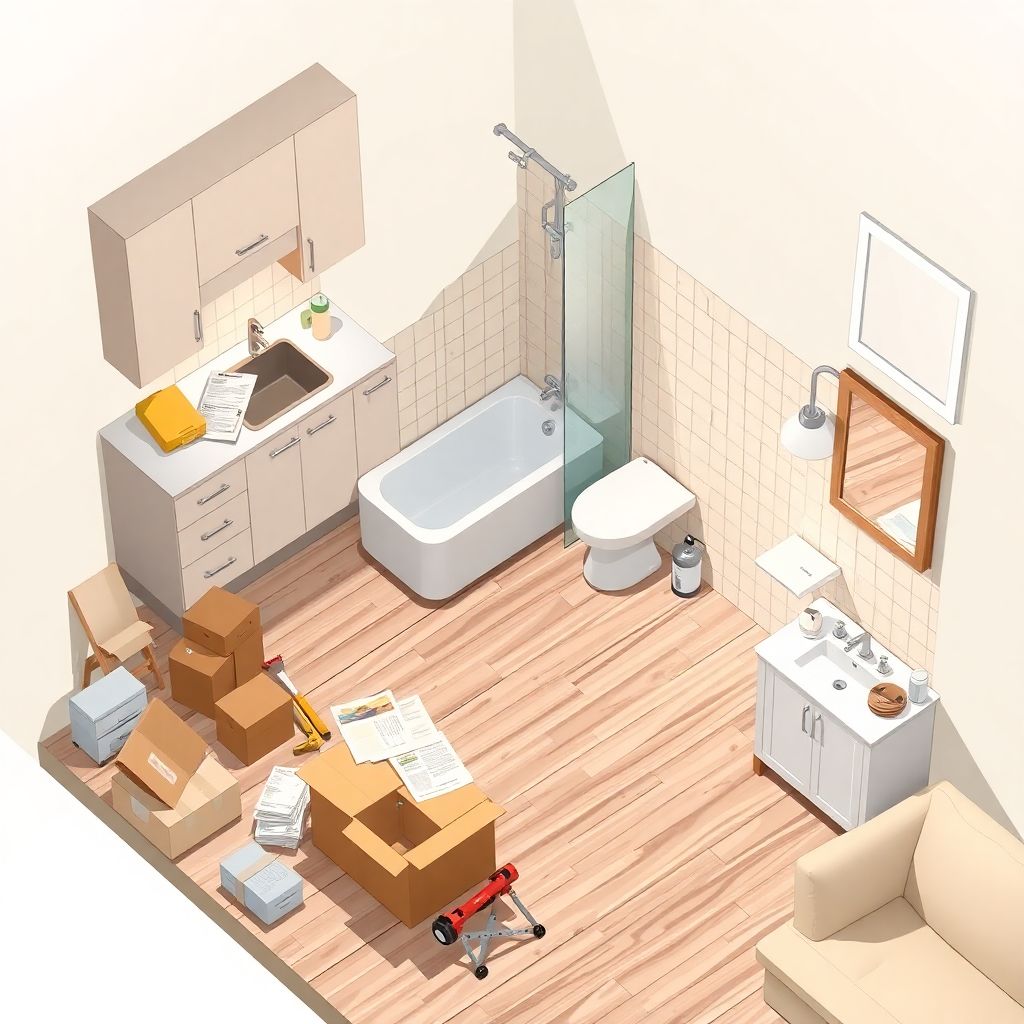
Real example (small 2-bedroom apartment, total budget $8,000):
– Must-fix: bathroom leak into downstairs neighbor, damaged kitchen floor
– Functional: zero counter space, no place for washing machine
– Cosmetic: ugly tiles, yellowed paint, old doors
Resulting scope:
– $2,000 – fix plumbing and waterproofing (non-negotiable)
– $1,500 – replace rotten subfloor and vinyl in kitchen
– $1,500 – build a simple L-shaped laminate countertop and add a compact washer hookup
– $1,000 – painting entire apartment
– $800 – basic bathroom fixtures (toilet + vanity)
– $1,200 – contingency and small extras
Ugly doors? Stayed. Designer tiles? Skipped. But leaks stopped, space became usable, and the place’s value increased.
—
Technical block: how to do a quick cost sanity check
Before you fall in love with Pinterest boards, you need a ballpark cost per square foot (or per m²) just to know if your idea is even realistic.
For low cost home remodeling in many areas of the US (material prices 2024):
– Basic cosmetic refresh (paint, simple flooring, no moving walls):
≈ $20–$40 per sq ft ($215–$430 per m²)
– Midrange kitchen (keeping layout):
≈ $150–$300 per sq ft of kitchen floor area
– Midrange bathroom:
≈ $250–$450 per sq ft of bathroom
So if your kitchen is 100 sq ft and you have $8,000 for it, your effective budget is $80 per sq ft, which is closer to “DIY + budget fixtures” than “designer cabinets.” That immediately tells you: keep layout, use stock cabinets, and limit plumbing moves.
—
Scope engineering: cut cost by changing the plan, not the quality
When you’re tight on money, you don’t just look for cheap home renovation ideas; you do scope engineering:
– Reduce area (renovate only the wet zone of the bathroom)
– Keep layout (no moving plumbing or walls)
– Use off-the-shelf components (stock cabinets, standard sizes)
– Phase things (do kitchen now, hallway later)
Example, same 100 sq ft kitchen:
– Moving the sink or stove more than 6–8 ft can easily add $1,000–$2,500 in plumbing and electrical work.
– Knocking down a non-load-bearing wall, redoing flooring and patching: +$1,500–$3,000.
On a tight budget, you might:
– Keep the sink where it is.
– Remove just part of a wall (pass-through opening instead of full demo).
– Run continuous flooring only in essential zones.
Result: you preserve 70–80% of the functional gain while shaving thousands off the cost.
—
Where to spend, where to save
To make budget friendly home improvement decisions, think in terms of lifespan vs. visibility:
– High wear + hard to replace later = spend more
– Easy to swap later + mostly decorative = save now
Spend more on:
– Subfloor repairs, waterproofing, good primer
– Wiring, plumbing behind walls
– Bathroom waterproofing membrane and quality valves
– Solid, durable flooring in high-traffic areas
Save on:
– Door handles, light fixtures (easy to upgrade in 2–3 years)
– Backsplashes and wall tiles (can be re-tiled without gutting)
– Interior doors and trim (paint can carry them a long way)
Real scenario:
– A client had $5,000 for a very tired bathroom.
– We used midrange valves (~$250) instead of the cheapest ($80), but saved on tiles:
– Floor: simple porcelain tile at ~$2.20/sq ft
– Walls: paint + only a tiled “wet zone” around the shower
Total cost landed around $4,700 instead of the $9,000+ quotes they’d seen, and the key hardware won’t need replacing for many years.
—
DIY vs pro: do the math, not just “I’ll do it myself”

DIY isn’t automatically cheaper if you factor in:
– Tool rentals or purchases
– Rework if something goes wrong
– Time off work or weekends for months
But on a tight budget, smart DIY can be the difference between “can’t afford it” and “finished project.”
Good DIY candidates:
– Demolition (careful, more on that below)
– Painting walls and ceilings
– Installing click-lock laminate or vinyl plank in simple rooms
– Simple backsplash with large tiles
– Assembling flat-pack cabinets
Tasks that usually justify affordable home renovation services instead of DIY:
– Electrical work in walls or new circuits
– Plumbing changes inside walls or floors
– Structural changes (beams, load-bearing walls)
– Tiling wet areas (showers) if you’re not experienced – waterproofing mistakes are expensive
—
Technical block: realistic DIY savings
For a small apartment (600–800 sq ft), DIY can typically save:
– Painting:
Pro labor: $2–$4 per sq ft of wall/ceiling area
DIY savings: often $800–$2,000
– Flooring (laminate/vinyl):
Pro install: $1.50–$3 per sq ft
DIY savings for 400 sq ft: $600–$1,200
– Demolition (non-structural):
Pro: $1–$3 per sq ft (including bagging, hauling)
DIY savings: $400–$1,000 on a couple of rooms
If your entire renovation budget is $10,000, that can free up 20–30% for better materials or an extra room.
—
Planning line items: break the project into cost blocks
Instead of “bathroom – $5,000,” break it down. This turns wishful thinking into an actionable cost map.
Example: targeted bathroom update on $4,500
– Demolition, waste removal: $300 (DIY demolition, paid haul-off)
– Plumbing updates (no layout change): $1,000
– Electrical (GFCI, light, fan): $350
– Waterproofing + shower area materials: $450
– Tiles, grout, adhesives: $600
– Vanity, toilet, fixtures: $900
– Labor (tiling + plumbing hookup): $700
– Contingency: $200
Once it’s broken down, you can start tuning:
– If tile prices jump, cut vanity budget and buy a simpler model.
– If you get a good quote on labor, upgrade the faucet or shower system.
—
Cheap home renovation ideas that don’t look cheap
Some lower-cost tactics have an outsized visual impact:
– Paint strategy: Ceiling white, walls warm neutral, one accent wall. High-quality paint often costs $10–$20 extra per gallon, but covers better and lasts longer.
– Hardware swap: Replace only the most visible handles and knobs (kitchen uppers, main doors). Ignore closets for now.
– Lighting hierarchy: Instead of a single expensive chandelier, use:
– One simple main light ($40–$80)
– 2–3 accent lamps or wall sconces ($25–$50 each)
– Cabinet refacing vs replacement:
If frames are solid:
– Sand, prime, paint cabinets
– Replace doors only where badly damaged
This can cut costs to 30–50% of new midrange cabinets.
Those are the kinds of moves that make home renovation on a budget feel deliberate rather than “we ran out of money.”
—
How to talk to contractors when your budget is strict
If you just say, “I want the best price,” you’ll get vague quotes and change orders later. Instead, be explicit and technical:
– Share your real budget ceiling (e.g., “For this bathroom, my total is $6,000, including materials.”)
– Provide a written scope:
– What you want done
– What you’ll supply (materials you buy yourself)
– What you might do as DIY (e.g., painting afterward)
– Ask for labor-only and labor + materials options
Key questions:
– “What’s the most cost-effective way to achieve this function?”
– “If we had to cut 20% of cost, what would you change first?”
– “Can you itemize major components (demo, plumbing, electrical, tile, fixtures)?”
Good contractors doing affordable home renovation services appreciate clear scope. They can propose alternatives: different tile sizes, fewer cuts, keeping existing tub, etc.
—
Technical block: spotting red flags in “cheap” quotes
Be careful with quotes that seem too low. Red flags:
– No written scope, just “bathroom – $3,500 all in”
– No allowance (budget line) for:
– Unexpected plumbing/electrical corrections
– Waste disposal
– Vague materials description (“good quality tiles included”)
For a realistic low-cost bathroom quote, you should see:
– Clear labor vs. materials separation
– Hourly or per-item costs for extras (e.g., “additional outlets $80 each”)
– A statement about what happens if there’s hidden damage (rot, mold)
Low price without these details can mean poor workmanship or a final price much higher than promised.
—
Case study: stretching $12,000 across three priority areas
Scenario: Small house, limited cash, needs to be rentable within 3 months.
Goals:
1. Make kitchen functional and presentable.
2. Fix unsafe bathroom.
3. Refresh living room to look clean and bright.
Budget: $12,000 total (with 10% contingency inside it)
Allocated:
– Kitchen – $6,000
– Bathroom – $4,000
– Living room – $1,200
– Contingency – $800
Decisions:
– Kitchen:
– Keep layout, no moving sink or gas.
– Stock cabinets (IKEA/box store), laminate countertops.
– DIY demolition, painting, cabinet assembly.
– Pro install for countertop and plumbing reconnect.
– Bathroom:
– Keep tub; refinish instead of replacing (saves $600–$1,000).
– Tile only tub surround and floor; rest painted.
– Midrange fixtures, basic vanity.
– Living room:
– New paint, swap main light fixture, clean existing floor.
– No new furniture, just strategic staging.
Outcome:
– Total spend ~$11,300.
– House rent increased by ~$350/month.
– Payback period on the renovation: roughly 2.5–3 years.
—
Phasing your renovation: not everything must happen now
If the numbers still don’t work, consider phasing:
Phase 1 (safety & function, 60–70% of budget):
– Fix leaks, electrical issues
– Address any rot or structural soft spots
– Basic finishes so the space is usable
Phase 2 (comfort & appearance, 20–30%):
– Better lighting
– Wardrobes, storage, organization systems
– Midrange fixtures replacing temporary ones
Phase 3 (upgrades, 10–20% when money allows):
– Statement backsplash, premium countertops
– Custom storage
– Decorative trims, feature walls
For example, in a kitchen:
– Phase 1: basic cabinets + laminate countertop + neutral paint.
– Phase 2: backsplash, nicer handles.
– Phase 3: replace laminate with quartz in 3–5 years when finances improve.
This keeps you from “freezing” until you can afford everything at once.
—
Simple checklist before you spend the first dollar
Use this to keep your budget friendly home improvement on track:
– [ ] Define total budget and set aside 10–15% contingency.
– [ ] List must-fix vs. nice-to-have items.
– [ ] Do a quick cost per sq ft sanity check.
– [ ] Decide what you’ll DIY vs. what needs a pro.
– [ ] Break each room into line items with rough numbers.
– [ ] Get 2–3 itemized quotes for any pro work.
– [ ] Prioritize safety, structure, and hidden systems over cosmetics.
– [ ] Decide if anything should be delayed to a later phase.
– [ ] Only then start buying materials – with a written list and target prices.
—
Final thought: treat your budget like a design constraint, not a punishment
Working on a tight budget can feel limiting, but constraints often produce better decisions. When every dollar has a job, you’re forced to prioritize function, durability, and long-term value rather than chasing every pretty idea.
Use the tools of project management – scope, line-item budgeting, phasing, and realistic DIY – and your renovation stops being a gamble and becomes a controlled upgrade of your home. That’s how you turn limited funds into a space that actually works for you, without waking up to a blown budget and a half-finished room.